 "Cash Rewards" (cashrewards)
02/01/2019 at 17:35 • Filed to: None
 0
0
 18
18|
"Cash Rewards" (cashrewards)
02/01/2019 at 17:35 • Filed to: None | 0
| 18 |
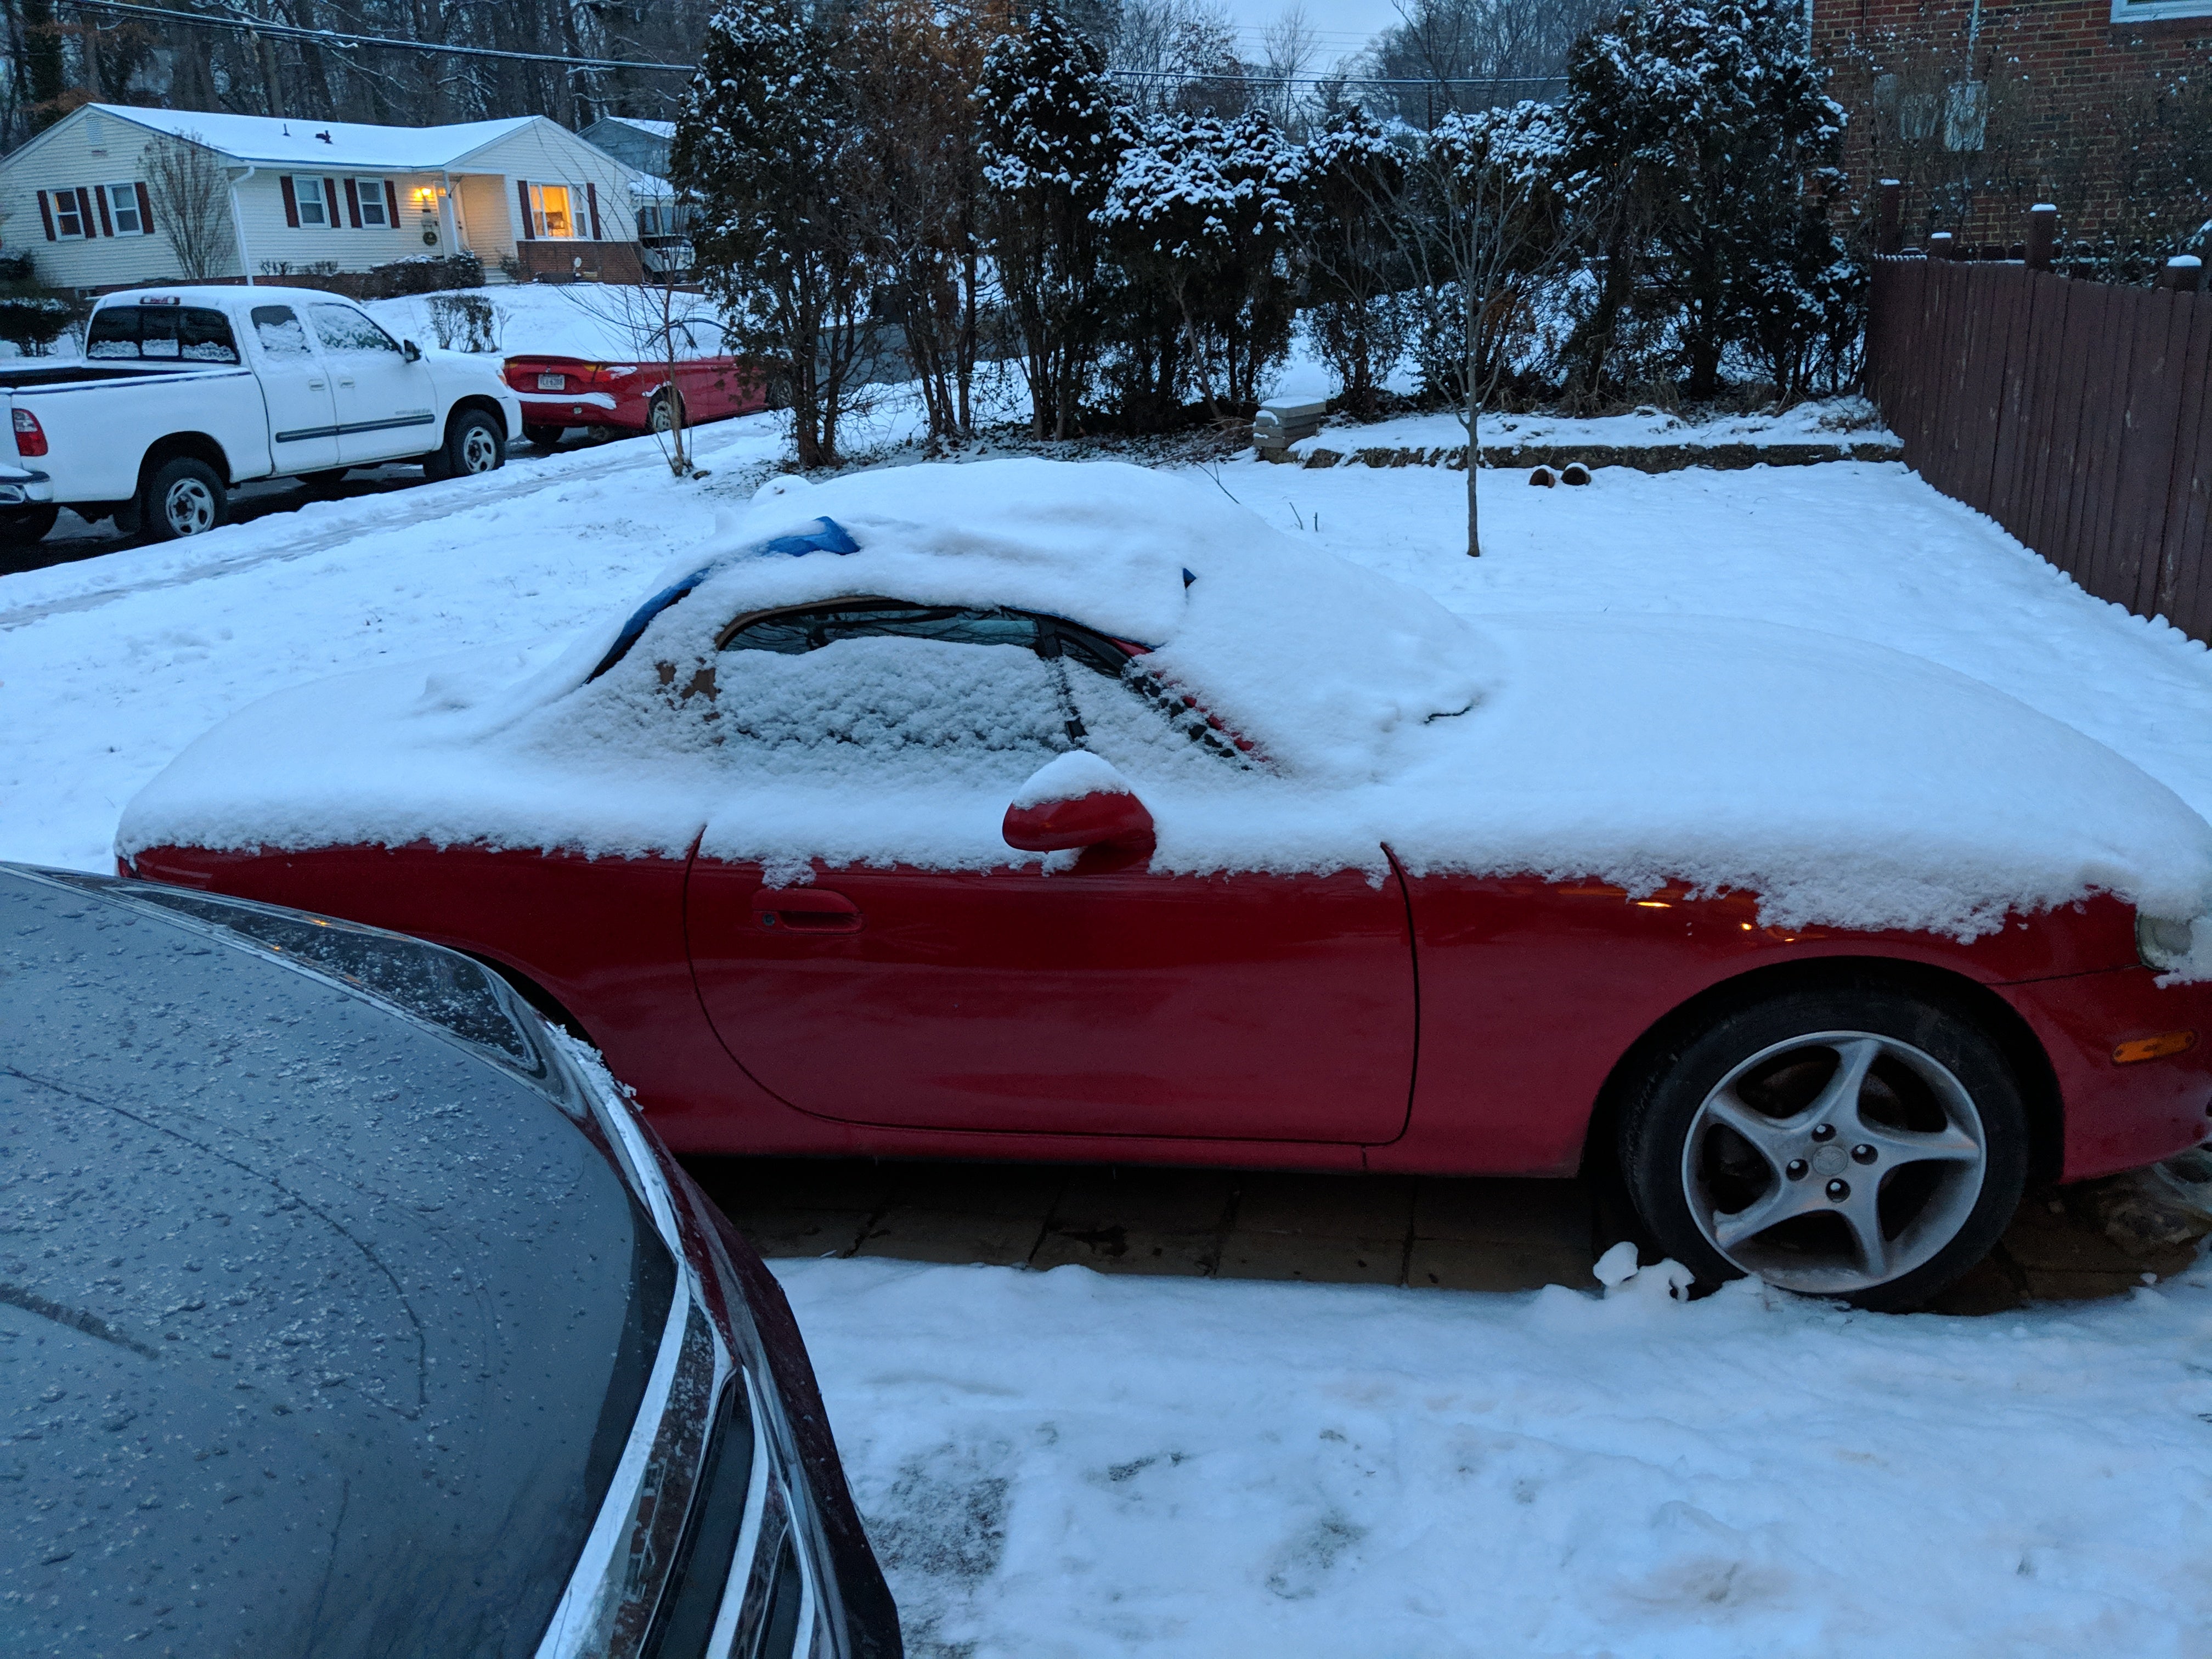

Obviously. It'll be 50s to 60s Sunda and Monday. Wish me luck. Any advice beyond "pay someone else to do it?"
 MonkeePuzzle
> Cash Rewards
MonkeePuzzle
> Cash Rewards
02/01/2019 at 17:41 |
|
when stretching things, it’s easier in the warm. got a garage you can heat a least a little?
 Khalbali
> Cash Rewards
Khalbali
> Cash Rewards
02/01/2019 at 17:52 |
|
Nope! I bought a new top for my NA years back and ended up passing it along still in the box to the next owner lol.
 shop-teacher
> Cash Rewards
shop-teacher
> Cash Rewards
02/01/2019 at 17:54 |
|
Nice! It was 21 degrees and sunny on the drive home. After the week we just went through, I put my window down all the way.
|
Cash Rewards
> MonkeePuzzle
02/01/2019 at 17:55 |
|
No garage, but 60s and sunny Tuesday. I should be able to get it to latch by then?
 Honeybunchesofgoats
> Cash Rewards
Honeybunchesofgoats
> Cash Rewards
02/01/2019 at 17:59 |
|
What kind of top did you get? Canvas or nylon? Mine is pretty ragged, so I’ve been looking into replacing it.
 Monkey B
> Cash Rewards
Monkey B
> Cash Rewards
02/01/2019 at 18:20 |
|
I’ve watched pros struggle with tops...hire someone!
|
Cash Rewards
> Honeybunchesofgoats
02/01/2019 at 18:42 |
|
This guy
 Aremmes
> Cash Rewards
Aremmes
> Cash Rewards
02/01/2019 at 18:57 |
|
I’ve done two soft top swaps, both times on NBs going from vinyl to canvas. My advice:
Start on Saturday by taking the top and frame off the car and bring them indoors. Cover the car overnight. Install the new top on Sunday.
Get a box of assorted blind rivets from the nearest hardware store. You’ll need a lot of them, specially the long ones.
Do not remove the plastic eye loops on the frame through which the tension wires run along the sides. Doing so will result in a floppy top.
Do not bother with attaching the rain rail to the back of the new top. It’s much easier to put the rail on the car first, and then installing the top and frame on the car.
You bought a new rain rail along with the new top, right? The old rail will crack when you pull it out.
Clean the drain scoops next to the seat belt towers while you have the top off. You may even remove them, but I find it easier to just run some drain opener and hot water through them.
Be ready to adjust the latches after re
installing the top, since the new material will need time to stretch. Fortunately that’s easy to do.
 ITA97, now with more Jag @ opposite-lock.com
> Cash Rewards
ITA97, now with more Jag @ opposite-lock.com
> Cash Rewards
02/01/2019 at 19:19 |
|
A ratchet strap run from the the steering wheel to the top frame will help. It was probably in the 70's when I did mine (seriously, you should pay someone else to do the job with a smile on your face as you write the check). I left the car in the sun closed up with the heater running for an hour or so. Over the course of an afternoon going out and tightening up the ratchet strap every once in awhile I was able to get it to latch.
Good luck on a non-Robbins top. The upholstery shop that the miata shop owned by mentor farmed all the top replacements out to charged extra labor for installing any top that wasn’t a Robbins. My understanding is that they often had to remove certain panels and refit them to get the tops to fit correctly, and tightly.
Plan on an entire day, and don’t mess around with the top frame on the car. Remove the rain rail, then remove the whole frame from the car and do the rest inside on the floor. Also make 110% sure the rain rail (you won’t have kind thoughts about this part ) is situated correctly in relation to molding on the body. It is super easy for it the lip to get out of position when installing the bolts, and if that happens it’s going to drain into the trunk and/or foot wells of the car instead of the draining to the underside. There’s no special magic involved in the job, but it is a long, long tedious job. No part of that job is enjoyable. I turned wrenches for a living, and that is one job that I will never, ever do again. Paying $400 or $500 to an upholstery shop to install the top is the best money you can ever spend on a miata. Even Miata specialists shops don’t mess around with top installs. They farm it out to upholstery guys who do that kind of work every day.
|
Cash Rewards
> ITA97, now with more Jag @ opposite-lock.com
02/01/2019 at 19:50 |
|
Thanks for all the good advice. I'm allowing two and a half days, and know it will be miserable. But that's the cost of the roll bar.
|
Cash Rewards
> Aremmes
02/01/2019 at 19:51 |
|
Fantastic advice, thank you! I got a top with rain rail pre installed
|
ITA97, now with more Jag @ opposite-lock.com
> Cash Rewards
02/01/2019 at 19:56 |
|
It sounds like you’re well prepared then. If that top doesn’t come with some reinforcement where it contacts the top bows as they curve at the corners, the fuzzy side of some Velcro applied to the bows would be a good investment.
|
Aremmes
> Cash Rewards
02/01/2019 at 20:15 |
|
Smart move. Having the rain rail pre-attached makes the job an order of magnitude easier.
|
Cash Rewards
> Aremmes
02/01/2019 at 20:49 |
|
Based on the water scenario, I have a feeling the rain rail is shot already
|
Aremmes
> Cash Rewards
02/01/2019 at 22:03 |
|
Whut, the new rail is shot? That can't be good if so.
|
Cash Rewards
> Aremmes
02/01/2019 at 23:01 |
|
Sorry, not clear. You said the old rain rail will probably break. I think it already is broken, so I made sure to get a new one, and paid for it to be preinstalled.
|
Aremmes
> Cash Rewards
02/02/2019 at 01:09 |
|
Ah, of course. Mind you, the rail doesn't move at all once installed, so the chances of it breaking in place are negligible. More likely is that it was installed improperly, as was the case of the old top that I took off my car, which had the edge of the top outside of the rail. Since you're getting it pre-attached you won't have to worry about that possibility.
|
Cash Rewards
> ITA97, now with more Jag @ opposite-lock.com
02/08/2019 at 14:50 |
|
Good call on the heater trick. That was what got me all the way closed. Thanks